Has that much changed in the last twenty years since this article was first written? We’re told that motorcycles have gained better tyres, better suspension and stiffer chassis, but I’m not convinced. Jumping from a bike built in 2000 to a similar machine from 2025, you’d be able to ride it in much the same way. But go back from 2000 twenty five years to the sort of bikes we were riding in the mid-70s and you’re looking at a whole different ball game of dubious tyres, bouncy suspension and bendy frames. Even so, and despite increasingly sophisticated electronic rider aids, the fundamentals of how a motorcycle steers have not changed. If anything, the ability to steer decisively and accurately is more important now, not less, because bikes are so much mor forgiving.
Electronics can manage grip and stability, but they do not steer the bike; tyre construction can make steering lighter and quicker, but it does not remove the need for precise inputs. In fact, modern machines often demand better steering control; hesitant or inaccurate steering still cause problems, but now the rider is far more likely to run out of space rather than grip.
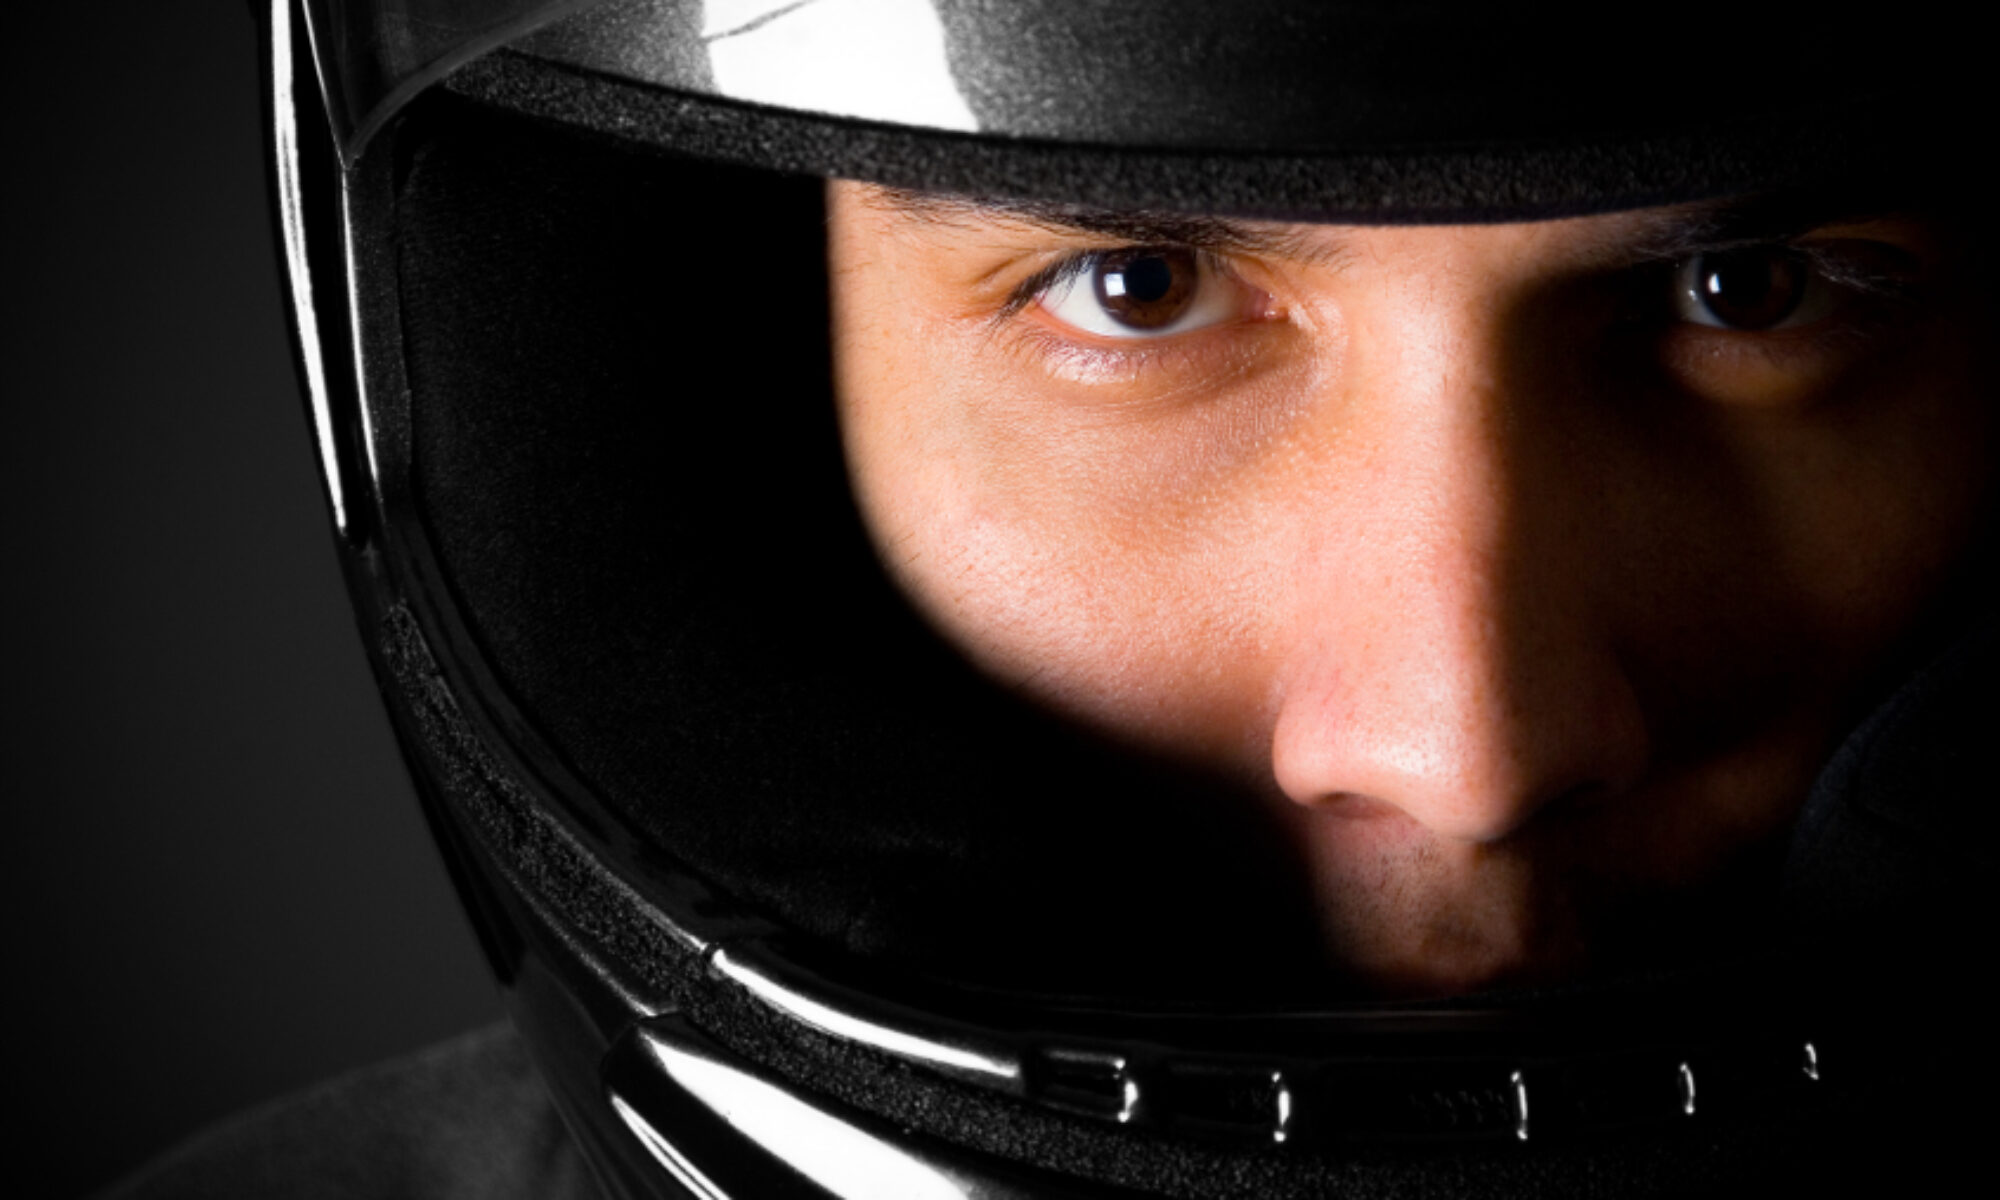
Counter-steering and motorcycle cornering
You’d think there would be enough explanations of counter-steering out there on the web, but the same questions and misunderstandings turn up over and over, so each time I find myself answering those questions as well as dealing with the misunderstandings and arguments. So here’s the ultimate Question and Answer primer on counter-steering from Survival Skills advanced rider training. The basics of steering a motorcycle are covered in the first few questions, but I answer more specific questions in more detail, as well as covering the objections futher down. If all you really want is a quickfire explanation of what counter-steering is, and how to do it, then you really only need to read the first couple of questions and their answers.
Q – How does a bike go round a bend?
A – Here are the basics:
to corner, a bike needs to be leaned over
to lean over, the bike needs to ‘roll’ from the vertical
counter-steering generates the roll that makes the bike lean
once leaned over, the bike will turn in a big circle (rather like an ice cream cone)
for a fixed radius of turn, there will be only one lean angle that matches a particular speed
That is really all we need to know. But in a bit more detail… in motion, a motorcycle cornering needs to lean – it balances the tendency of machine and rider to fall over under its own weight to the INSIDE of the turn against the force of momentum which makes the bike’s mass try to go straight on which makes the bike want to fall over to the OUTSIDE of the turn (what’s often known as centrifugal force). [Pedant alert – this article got quoted online, and one critic had nothing to say except to say: “Centrifugal force… a motorcycle would have to be pretty imaginative to balance itself against an imaginary force… people giving a “scientific” explanation of how something works would be well advised to understand the science first.”
Hands up, I’m guilty of using a “populist” term for something that people ‘feel’. But, just to keep him happy, I’ll quote someone who posted a response: “I’m a scientist who uses a centrifuge on a daily basis. I have a very simple definition of centrifugal (sic) force. It is simply momentum (Newtonian mechanics) constrained by rotation”. Thanks, Alistair. [/Pedant alert]
But to reach that lean angle in the first place, we have to make a steering input by turning the handlebars.
Q – Why is it called counter-steering?
A – Because we are applying a force to the bars which turns the front wheel right to go left, and turns it left to go right! The easiest way to remember what you need to do is that you need to PUSH the side of the bars in the direction that you want to go – ie:
you PUSH the LEFT handlebar to go LEFT
you PUSH the RIGHT handlebar to go RIGHT
For this reason it is sometimes called ‘push’ steering, and you might also hear it called ‘positive’ steering. But it’s most commonly referred to as counter-steering and they are all the same thing.
Q – Anything else that I MUST know?
A – Yes, three things:
first of all, a motorcycle in motion is straight line stable. That is, hands-off, it will always try to go in a straight line. This stability is built-in, to ensure that the bike recovers from hitting bumps or gusts of wind, particularly at high speed. This is hardly ever mentioned during explanations of counter-steering, but it’s a key point because it also means that the bike tries to pick itself up out of a corner. And that’s why we need to keep a reduced counter-steering pressure on the bars to maintain our chosen lean angle and line around a corner.
second, this self-righting tendency also means we rarely have to counter-steer OUT of a bend – we simply release ALL the pressure on the bars and allow the bike to steer itself straight. We really only have to apply an opposite counter-steering input when flicking the bike from one lean angle to the other, such as in an S bend or when taking evasive swerving action.
thirdly, the LONGER we push on the bars, the greater the lean angle the bike will achieve :: fourthly, how HARD we push on the bars affects the RATE of roll. In other words, if we only want to lean the bike slowly into a bend, then a gentle pressure on the bars suffices. But if we need to change direction quickly, then a rapid rate of roll is required and that means a much firmer push on the bars.
So to sum up:
push right, go right… push left, go left…
push longer, lean over more
push harder, change direction faster
reduce the pressure to hold the chosen lean
remove the pressure to allow the bike to return to the upright position
Now, if you want, you can stop there because that really is all you need to know! But if you want to see the sort of questions that people ask about steering, read on!
Q – How does counter-steering work?
A – You may see a very simple demonstration with a spinning bicycle wheel, which suggests it’s down to gyroscopic forces. In fact, that’s not the full answer – gyroscopic force contributes but the major forces (some 30 to 40 times stronger) are inertia and camber thrust. Let’s say we want to turn left. Counter-steering and applying a push to the left end of the bars turns the front wheel to point the right. This sets off a cascade of events:
the angled front tyre’s contact patch pulls the front wheel to the right
but momentum always makes the mass of the bike and rider try to go straight on so that the centre of gravity of the bike is no longer directly above the line on which the bike is supported between the tyres – the bike will fall to the LEFT
because the bike is leaning to the LEFT, the front tyre also leans to the left, even though it’s pointing right
the contact patch of the front tyre is out of line with the steering axis and friction on the tyre swings the front wheel into the corner – the bike is leaning left and the front wheel is now also pointing left
now the machine will turn left
In effect, the bike ‘trips up’ on its own front wheel. The final ‘balance’ which the bike settles into differs from machine to machine but nearly always requires a reduced counter-steering pressure on the left-hand bar to keep the bike steering to the left.
That (leaving out all the maths!) is what happens in a nutshell.
But again, keeping it simple, counter-steering generates the lean that makes the motorcycle follow a curved path and then a reduced pressure keeps it turning on our chosen line.
Q – Any advice on where/how to practice?
A – Find a straight, empty road or large carpark – you really need around 50 metres minimum length for this, and ideally around 20 m width too, so an EMPTY carpark is ideal. Don’t try it when Sainsburys is busy or down your local high street. Keep well away from any other vehicles.
Get up to a reasonable speed – around 20 – 25 mph is fast enough for a first attempt if you are in a car park. Change up to 2nd gear, if you hang onto first gear and shut the throttle you’ll get a big wobble with engine braking. Brace your knees against the tank, a reasonable grip (not a death grip) on the bars and keep elbows loose. Remember – the amount of effort needed to turn the bike at low speeds is negligible, nor do you need to turn the bars very far. Make sure you use a VERY GENTLE push – the amount of force needed is only that required to push an empty bottle over – not very much. Just use one push on the first few runs so you can learn how much force to use. Practice doing this a few times until you start to get the feel for it.
Increase the speed (if you have room) and feel how the effort needed gradually increases. When you are comfortable with the amount of effort involved, try a left – right manoeuvre, then a mini-slalom. This is a valuable exercise to repeat regularly or when you get a new bike to ensure you can steer accurately.
Next find a nice straight clear road and try counter-steering in a gentle slalom at slightly higher speeds. Don’t frighten car drivers by doing it in front of them. As you get more confident, you’ll be able to steer the bike harder and at higher speeds. It’s much easier to experiment on straight roads to start with. Move onto bends once you’ve got the feel. It’s best to start on a corner you already know, one with a good clear view, and one that’s not too fast – something around 30 – 40 mph is ideal. Ride round it a few times just to refamiliarise yourself. Stay at a speed and on a line that feels comfortable, away from the extremes of the kerb and the white line – remember we are trying a new technique and need leeway for errors.
Make sure your posture is nice (wrists and elbows loose, knees gripping the tank), approach the corner as normal, getting your braking done in a straight line before you get there to get the bike settled. Remember to turn in on the power, and to keep the power on gently through the corner. Finally, making sure the road is empty, try counter-steering – just as the road curves at your normal turn-in point, talk to yourself and tell yourself to push right, go right (or push left, go left). Remember, it’s a very gentle pressure and even so, you’ll almost certainly find that you turned along a much tighter line than you expected (hence the advice to only do in a bend where you can see there is no traffic).
Q – I understand counter-steering and use it all the time – but I find when the bike is leaned over I have to keep a force applied to the bars to keep it on line
A – This is the effect of the self-centering steering geometry. Most modern bikes are set up to be straight line stable to cope with bumps and gusts of wind which kick the front wheel to the side. This means a small amount of steering effort is required to hold a steady line against the bike’s natural tendency to straighten up. It also makes for a nice, controlled feel mid-corner. Some of the 1980’s bikes with 16″ front wheels oversteered – as they began to lean, they suddenly ‘flopped’ into corners. Very unpleasant.
Q – Somebody told me I need to oversteer into a corner if it tightens
A – I think they probably meant ‘counter-steer’. Either that or a confusion of terms! Oversteer is the tendency of the bike to deviate from a CONSTANT radius turn by turning tighter into the turn without rider input. You may still be applying a force to maintain a constant radius turn, but it is not called oversteering! In fact, pushing the left bar through a left turn to keep the bike on line, we’d be correcting for UNDERSTEER – if you didn’t the bike would run wide.
Q – However hard I push, I can’t counter-steer.
A – You’re almost certainly leaning on the bars. Your arms need to work like opposing pistons – as one goes forward to push, the other has to come backward at the same time or the bars cannot turn. You can push as hard as you like but if you’re leaning on the bars, you’re cancelling out your own effort. Try to brace your knees on the tank and stiffen your brake to keep your weight off them.
Q – Someone told me you can pull instead of pushing
A – Counter-steering means we turn the bars opposite to the direction you wish to turn. This is usually achieved by pushing on the inside bar, but it’s perfectly possible to pull on the outside bar too. It gives extra leverage at high speeds or when a very rapid change of direction (such as a swerve) is needed.
Q – Do you push DOWN on the bar, or AWAY from you or what? All my bike does is go the wrong way.
A – First off, push AWAY, don’t push DOWN on the bars – you need to turn the steering around the pivot point of the steering stem. Think what plane the bars move in – if you push down you only try to bend the handlebar. When riders have problems steering sports bikes, it’s almost always because they are leaning on the low bars andpushing down rather than turning the bars. The answer is to bend the elbows so as to turn the bars rather than try to push down.
Q – At what speed does counter-steering work?
A – counter-steering works at speeds above a slow walking pace. The faster we go, the greater the effort needed to steer the bike. At 20 mph, we can barely feel the necessary pressure. When I do my counter-steering demos at around 25 mph, such a light push is needed I demonstrate by using just one finger on the bars. At normal road speeds, the pressure needed goes up and it’s easier to feel what’s happening. On the track at 100 mph, it becomes increasingly hard work to steer.
Q – I can honestly say that I have never consciously counter-steered in my life and thus far I seem to have survived. Nobody worried about this counter-steering malarkey when I learned to ride 30 years ago, and it was never taught on training courses.
A – Well, whether you think you do, or whether you think you don’t, you do counter-steer. And so was everyone thirty years ago. The physics behind counter-steering apply to all bikes, regardless of age, size of front wheel or width of rubber. Older bikes certainly handle differently to modern bikes, but counter-steering has been known about since the earliest days of the 20th century. In fact, it was first described by the Wright Brothers when they built bicycles.
The reason some experienced riders believe they don’t counter-steer is simply because the amount the bars actually turn at road speeds and lean angles is tiny, it needs little pressure, and the actual steering input is very short-lived. Unless we are consciously looking for it, counter-steering is unconscious.
The reason is wasn’t taught is because it wasn’t in the police syllabus, so it never got transferred to CBT either. I used to teach it on DAS courses back in the mid-90s because it helped trainees improve their steering, and I cover it on post-test training. I’m yet to find someone who hasn’t benefited from counter-steering if they weren’t already using it.
Q – The notion of deliberately turning the bars in the opposite direction going round a tight bend is just not on
A – Well, whether you think you do, or whether you think you don’t counter-steer, you do. But if you don’t want to try out and practice something you’ve read on a web-site (and I can understand that) then get someone to demonstrate how it works. Any competent instructor should be able to explain and get you using counter-steering.
Q – I’ve been told you can’t counter-steer a cruiser / I’ve been told you can’t counter-steer on a scooter / I’ve been told it’s a sportsbike technique
A – ANY motorcycle counter-steers. Scooters, 125s, sportsbikes, tourers. Even cruisers and choppers where the bars are at shoulder height. It even works on a bicycle. Be careful on scooters and other lightweights though, they steer very rapidly because they weigh very little!
Q – These techniques are race stuff. Counter-steering is something you only do on trackdays and sportsbikes.
A – See above. The more skills you understand and can use, the better. It doesn’t mean that your knowledge obliges you to ride fast, but if a corner tightens, or you need to swerve to avoid a collision, then the techniques to change direction hard and in control are very useful indeed.
Q – I tried counter-steering just the once and scared myself silly – I nearly lost control, so that was the only time
A – Well, whether you think you do, or whether you think you don’t… etc etc. But it sounds like you pushed too hard and scared yourself! Be warned, you really do NOT need much effort to generate a surprisingly rapid response. Be gentle whilst trying it out.
Q – Turning the bars the opposite way will make the bike very unstable and it’s actually hard to do at speed. I steer by weighting the footpegs.
A – As above. Pushing down on the footpeg to steer can ONLY have any effect if the rider isn’t sitting rigid in the seat. Pushing down on the left peg tends to push our body in the opposite direction. Once again, the main problem is that we’re trying to move the bike’s not-inconsiderable mass via the very short lever of the footpeg. The lighter the machine, the more effect it can have but it’s most effective combined with counter-steering. Now even a heavy bike can be made to roll very quickly, and a quick roll means a rapid change of direction.
Q – I’m inclined to continue to rely on my instincts – if it ain’t broke don’t fix it!
A – Same answer – you’re counter-steering whether you realise it or not. But the benefit of properly understanding how a motorcycle steers is that you can improve your riding by being more fully in control of it. Aside from sharpening up your lines around corners and giving you more space to steer round them in, counter-steering is also very useful is making the transition from upright to full lean angle VERY quickly, which if you consider it is a good ‘get out of trouble’skill. It’s vital mid-corner to be able to change line when you realise the bend is tightening up. Counter-steering stops you running wide. It’s also a good collision avoidance technique.
Learning about counter-steering myself dramatically improved my own bike handlng skills on rural roads, and reduced the risks in town too.
Q – I steer by leaning into the corner.
A – Ah, the old chestnut. Sorry, it’s almost (but not quite) impossible! Us racer, trainer and author Keith Code has built a bike with a second pair of fixed bars to prove this, a report on which you can find (at least as I write) at http://www.popularmechanics.com/popmech/out/0102BOODWFAP.html
Once holding the fixed bars, the rider can only affect the bike by shifting his body mass to one side or the other. A quick bit of Newtonian physics will show that if we lean to the LEFT, the counter-effect is that the bike will lean to the RIGHT. Equal and opposite forces and so on. Peg weighting does exactly the same thing.
Now when the bike shifts away from upright, because we’re not holding the real bars, the front wheel is free to pivot around the steering head. They ‘wiggle’ momentarily in the opposite direction, then swing slightly into the corner, and now the bike rolls around in a curved path. With a bit of practice, it is possible to make some semi-controlled changes of direction through body steering. The fundamental difference is that we can apply far more force via the bars than we can by leaning our body mass. The important point is not that body steering doesn’t work (because it sort-of does), it’s the very slow RATE OF ROLL (and hence slow change of direction) and the relative the lack of control.
So why do many experienced riders claim they turn by leaning? Quite simple. Without realising it, as they lean into the corner they are pressing on the inside bar, and so quite unconsciously they are counter-steering.
Q – Most of the time I’m riding I don’t think about counter-steering. Am I doing something wrong?
A – Nope. Most of the time I’m riding I never give counter-steering a thought either, but it is a good thing to work on consciously from time to time. That’s so that when we arrive in the midst of an “oh sh!t” situation, we use counter-steering positively without having to think about it first.
It’s like being able to brake to the point of locking the front brake at will – its not something I do in everyday riding, but just every now and again it comes in useful.
Learning new skills is all about giving yourself that little bit of an edge. But I quite take your point about not doing it on the advice contained in a website – to be perfectly honest given the amount of discussion and partial disagreement this subject always raises, I’d be a bit wary too.
Q – So what advantages are there to counter-steering?
A – Well, if I haven’t given you enough positives already, the main plus is that once we know how it works we can choose WHEN to use it consciously and positively. For example, if we can change direction faster, we can keep the bike upright deeper into a corner. By taking this later apex line, we can see further and have a better idea of where the road goes. The later apex gets the bike upright sooner, and we can get back on the power earlier, getting better drive out of the bend. corners. Not least it allows you the option to keep away from potentially dangerous extremes of position to either side of the road – in other words it gives you more space to choose from on the road.
Q – But all we really have to know is that we ‘push left to go left’ and ‘push right to go right’. Correct?
A – Correct – which is why I said you could stop reading after the first few paragraphs. Counter-steering is a fundamental bike control technique, and from a purely practical point of view, about as straightforward a technique as anything else we do whilst sat on contradictory, non-intuitive motorcycles. But it helps enormously if we can get the technique as automatic as using the brakes or throttle.
Unfortunately the theory is counter-intuitive and that’s why so many riders have real problems accepting it’s how bikes steer.
Q – Haven’t we done this all before?
A – Yes, many times, and no doubt instructors after me will continue to have to explain counter-steering to disbelieving riders.
Q – This is all too much for me – my head hurts
A – These things are much easier to demonstrate than to explain! Check out my cornering courses!